
The purpose of this document is to allow users who access the Seller layer in Cloudmore to create and manage Custom services
Create and Edit Marketplace Services
The service is the “wrapper” that contains the service properties. Below the service, you are able to add multiple products and add-ons.
-
Logon to Cloudmore and go to Services > Custom services and click on the Create icon
-
Enter the details for the service in the online form provided
-
Click Create to add the service. The Service will now show in your services list but will not be shown in the marketplace.
-
Edit Service Service name
Enter the name of the Service
Vendor
Enter the name of the service provider Categories
Select from the drop-down list of pre-set categories
Style
Service icon
Upload an icon to display the service. Note: the image should be 120x64 pixels in size Billing
Generate billing data
Tick to activate billing for the service Generate billing per
Select the frequency that billing will be generated Billing day of the month
Select the day of each month to generate the billing for the service Setting
User assigned service
Tick this box to enable the service to be connected to user accounts Only allow one subscription per organization
Tick to associate the service with an organization and not individual users Display only service
Checking this box will mean the service is visible in Marketplace but will not be able to be added by a customer
Welcome Message
Broker adds service
Tick to allow broker level users to add the service on behalf of the organization Select template
Attach a welcome email template that you have created and saved in Cloudmore Organization adds service
Tick to allow organizational level users to add the service on behalf of their organization Select Template
Attach a welcome email template that you have created and saved in Cloudmore Provisioning type
Email/Cloudmore Service Connector
Select e-mail or service connector provisioning to determined the action when a subscription is purchased
Limitations
Start date changes
Choose from dropdown to action when a service starts, choice can include future or past dates Do Not Bill Initial Period
Tick to not action billing for the first month License keys
Enable license keys
Tick to action entries for a license key External admins
External Admins
Tick to allow broker or organization level access to an external admin portal Custom Properties Management
Add Custom property
Tick to access Custom Property form
Editing an existing service
- Click on the Action icon and click on the Properties to edit the options entered above
Adding Products
The product is the main component of the subscription that is purchased by the end-customer including the term, billing frequency, and start/end dates. Add-ons can be attached to each product.
- Go to the service and click on the Actions icon and click on the Products option from the dropdown menu
- Click on the Create button to open the Add product form
| Add Product | Type | Service Plan (Recurring Billing), for example, charged monthly or annually or Product (One-time billing), for example, hardware or professional services. |
| Type | Define which customer type, Broker or Enterprise organizations, the product is available to. | |
|
Product name |
Enter a simple, self-explanatory description of the product. | |
| Description | Enter a description of the product, that will help the end-user understand this product option. | |
| Item code | Enter an item code that will be used as the unique identifier for this product. | |
| Subscription and payment terms | Type | Product Based or Metered. Select Metered for a consumption-based service |
| Subscription period | Set the required subscription period to monthly or 12, 24, 36, 48, 60 months. | |
| Price | Enter the reseller buy price. | |
| Cost price | Enter the cost price (this is used only in the marketplace layer for reporting and not displayed at broker or customer level). | |
| Recommended price | Enter the recommended sales price. Resellers can customize this if required. | |
| Minimum quantity | If the product has a minimum purchasing quantity add it here | |
| Maximum quantity | If the product has a maximum purchasing quantity add it here | |
| Use Startup Fee | Tick this box If there is an initial fee for using the service. | |
| Product List Priority | If the product has a minimum purchasing quantity add it here | |
| Billing | First and last period billing | |
|
Renewals and cancellations |
Renewals | If the product has a minimum purchasing quantity add it here |
| Cancel Action | Using the drop-down box set how you want to delete a subscription once it has been cancelled | |
| Notifications for days left | Notifications on days left | Using the drop-down box set how you want to delete a subscription once it has been cancelled |
| Select template | Attach a renewal notification email template that you have created and saved in Cloudmore | |
| Expiry notification | Send expired notification | Check the box to send a notification email when the subscription has expired. |
| Select template | Attach a expiry notification email template that you have created and saved in Cloudmore | |
| Welcome message | Organization adds subscription | Select to send the welcome message when an organisation adds the subscription |
| Select template | Attach a welcome email template that you have created and saved in Cloudmore | |
| Trial management | Offer a trial | Tick Offer Trial if you allow a free period before invoicing. Set the number of days without charge. |
| Provisioning Management | Provision type | Enter the e-mail address that will receive provisioning information for this product |
| Custom properties management | Add custom property | Custom properties enable a flexible way to gather additional information at the point of purchase. You can add multiple fields each in the appropriate formats such as text, dropdown or checkboxes. |
Managing Service Information
Enable your customers to discover and learn about your services. Add relevant sales and marketing messaging, summarize key features, link to additional resources, and frequently asked questions. Pricing information is automatically added from the price list.
Add Marketing information
Go to services
Log in to Cloudmore. Navigate to your Services > Custom Services.
Open the Action icon and click on Marketing
This will open the service marketing page, where you can add information about the service. This information is published in the customer’s E-store.
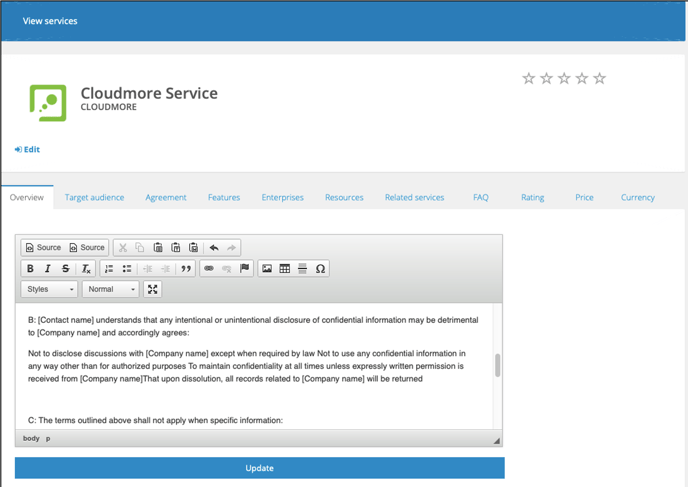
Enter the service overview
- Use the edit tools to format the text.
- Click update to apply the text.
- Use the edit tools to format the text.
- Click update to apply the text.
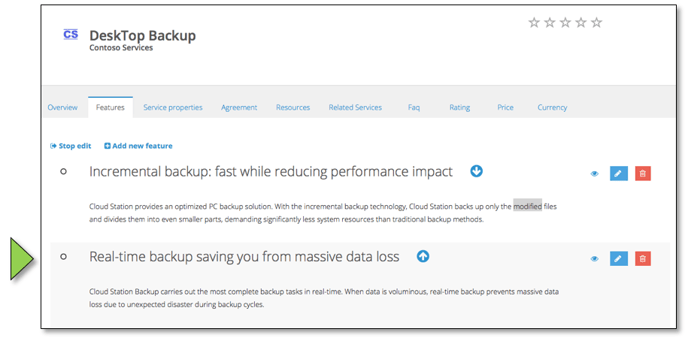
Add service features
In this tab, you can add a description of the service features.
- Click edit and add the new feature.
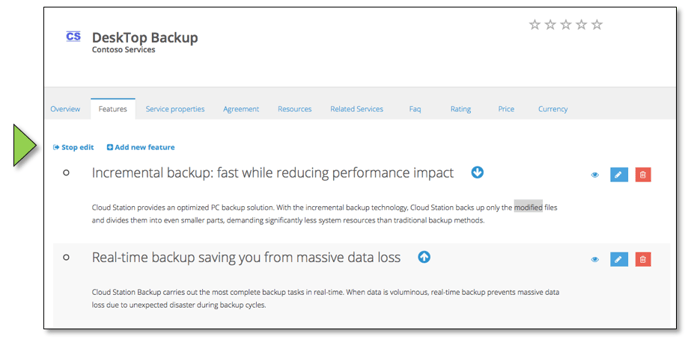
- Enter the feature name and description.
- Click create to add the feature.
- Repeat the process to add additional features.
- Use the arrow icons to re-order the features.
Add resources
- In this tab, you can add links to additional resources.
Enter the link name – this should describe the asset that the link goes to. For example – Service Homepage or Service PDF Asset.
Enter full URL link – Including, http://www - Select type in the drop-down menu: Options available are image, video, document, link.

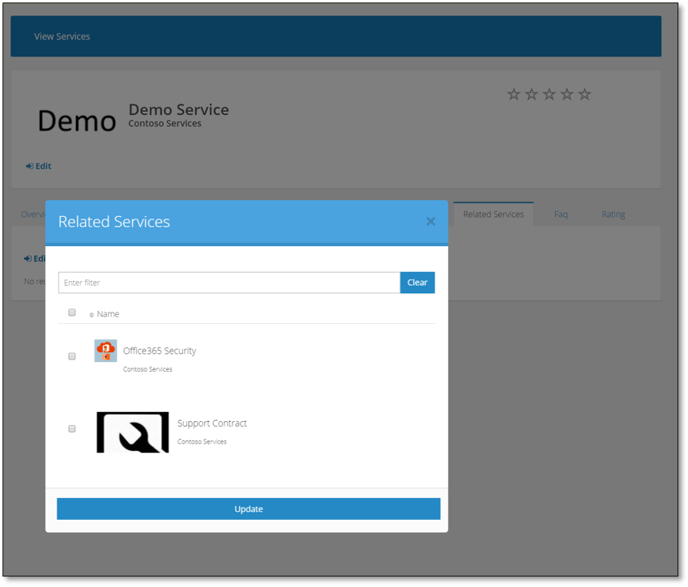
Associate related services
- Click edit. A list of any other services you have added in Cloudmore will be displayed.
- Tick the box next to the related service(s) and click update.
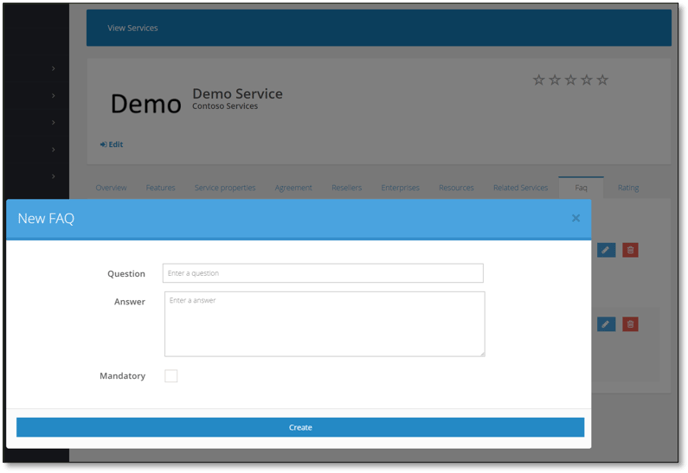
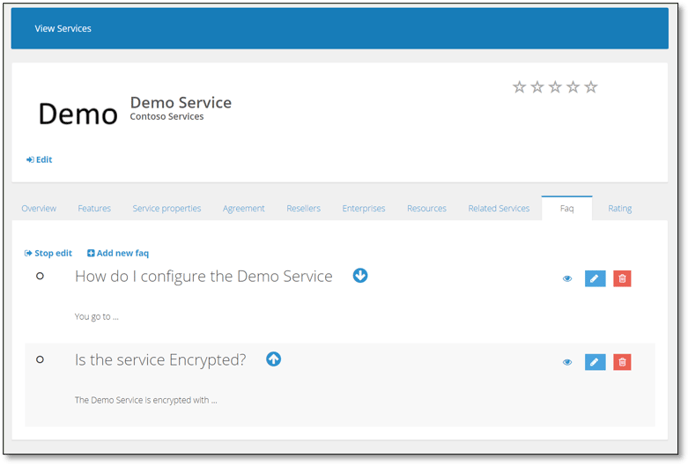
Add FAQ
- Click edit. A dialog box will be displayed.
Enter the Question and the Answer.
Publish the Service
- Open the Action icon and click on Publish
- This will open the Publish Service page, where you can control which customers will be able to access the service via the e-store
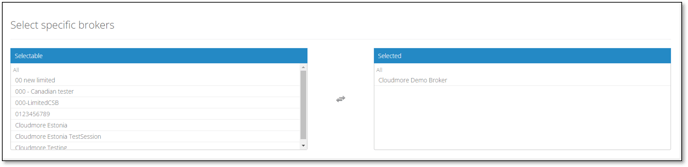
- Navigate to the Select Market section and choose one option from the list offered
Once an option has been selected dependent on this choice a new section will appear below and choices can be made by clicking a choice in the Selectable section and these will appear in the Selected column. Deselect by clicking in the Selected column and the choice will move back to Selectable
- Draft : Will not be available in the e-store
- Global : The service will be available in all organizations e-store
- Region : Choose from one of the geographical areas listed and this will be actioned dependent on the organizations properties for location
- Country : Choose from one of the countries listed and this will be actioned dependent on the organizations properties for location
- My Broker (No selections area) : The service will be available in all organizations e-store for the seller by default
- Specific Brokers : The service will be available in all organizations e-store for the seller that have been selected from the presented list
END