
Empower your customers to self-serve, enabling them to discover new services, manage their own subscriptions, assign licenses to users and view billing and service cost breakdown reports
Follow the instructions below to set up your Customer Portal
1. Adding organization users, so they can log in to Cloudmore.
2. Managing organization settings to configure the approval process and billing start date.
3. Managing Cloud Service Broker properties relating to notifications for approvals and support.
1. Add organization admin users
Create organization users that have access to eu.cloudmore.com and define what actions each user can carry out.
1.1 Go to organizations view
Log in to Cloudmore. Navigate to your Broker menu > Manage organizations > Organizations.
1.2 Go to organization users
Click on the Users column, for the organization you wish to add users to – this will take you directly to that organization's user menu.

1.3 Add a new user
Multiple users can be imported using the import function.
If you have existing CSP users, these can be exported from the 0365 user list to the Cloudmore user directory.
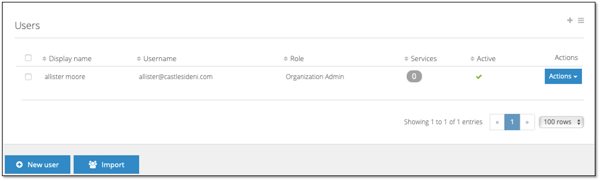
Select New user.
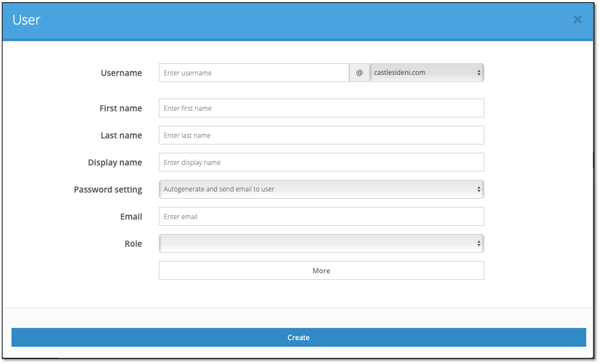
Complete the form
Notes:-
Additional domains can be added under the Organization menu > Organization > Domains.
The minimum password length is eight (8) characters. Password must contain uppercase and lowercase characters, numbers, and non-word characters. Password cannot contain parts of the user's account name or parts of the user's full name.
Roles:-
- Organization user – limited functionality, users can view services they have but with no administration rights.
- Organization view only admin – view everything with no administration rights.
- Organization billing admin – view billing details only with the administration to billing details only.
- Organization admin – view everything with full administration rights.
Click on Create
The new administrator can now access Cloudmore using these credentials.
1.4 – Edit existing user
Use the Action drop done menu next to a user to add new services, edit, change password or delete existing user.
If the user has been assigned services, the number of services they have will show in the services column.

1.5 – Disable a user
To disable an account, tick the box next to each account you want to disable. Then select the list option by clicking on the ![]() icon and select Disable Account(s).
icon and select Disable Account(s).

2. Manage Organization Settings
Set approval process rules and the date from which organizations can see billing history.
2.1 Go to organizations view
Log in to Cloudmore. Navigate to your Broker menu > Manage organizations > Organizations.
2.2 Go to Organization settings
Click on the Actions menu next to an organization and then click Properties to review and edit the settings.
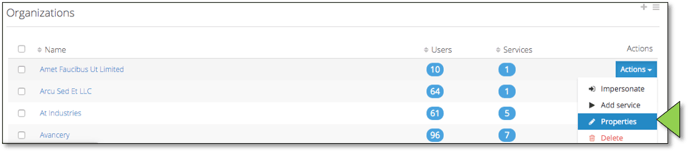
The details for the organization selected will be displayed.
Check your customers' notification email address is correct.
Click more

Here you can set approval process rules and the date from which organizations can see billing history
Approval Process – Tick this box if you want all transactions to require approval. If you wish to set a minimum annual amount that a subscription should reach before triggering an approval enter it here

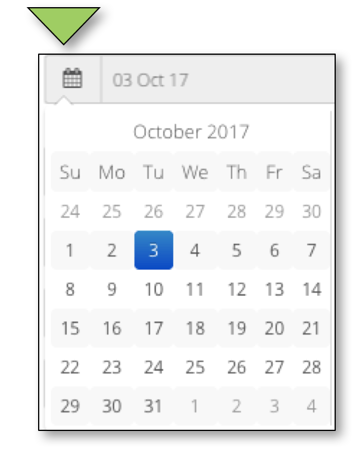
Billing Start Date – Set the date that organizations can run billing reports from. This date will default to the date the organization was created in Cloudmore. Click on the calendar icon to select the date.
Click update at the bottom of the form to apply the settings.

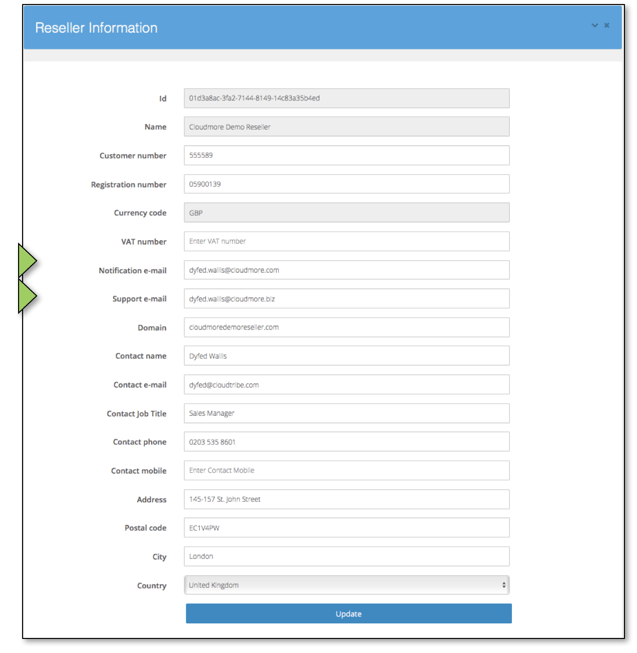
3. Manage Cloud Service Broker Properties
Confirm that your notification and support email addresses are correct. Approval request notifications will be sent to the notification email address and support requests will be sent to the support email address.
Log in to Cloudmore. Navigate to your Broker menu > Properties
Your reseller properties will be displayed. Check the notification and support email addresses are correct.
Click update to apply any changes.
4. Offboarding Customers
As best practice, you shouldn’t delete or remove an organisation record from Cloudmore for 60 days after the organisation no longer works with you.
This is to allow for credits, etc., to be billed over the next few months. If an organisation is deleted too soon, billing data may be added to an invoice for that organisation. However, Cloudmore will not have a record to pull it into, so your billing may not reconcile.
It is important that you offboard the organisation from the Microsoft (MS) partner centre – this will sever the link between Cloudmore and Microsoft.
If the organisation has been removed from the partner centre i.e. no Microsoft tenant exists on the “link tenants” page:
-
Go to my services
-
Click Microsoft 365
-
Click “link tenant to an organisation”
-
Search for organisation
-
Click actions
-
Delete – this will delete the services within Cloudmore
-
Lastly, you must delete the organisation record from the organisation list
If an NCE subscription is suspended, it can be made active again. If an organisation with whom you no longer work wants to move to another broker, they may still need this subscription/s so removing them from the partner centre will remove your access as a broker and they will keep their subscriptions.