
As a broker, I want to create additional data points in Cloudmore to filter and separate my billing data into different cost centres.
Cloudmore allows you to add additional data points to subscriptions, organisation and user records. You can then use these additional data points to filter your billing reports to split billing across different cost-centres.
Perhaps you have a single tenant but require organisations to be invoiced based on their geography? Or perhaps you want to group different services in your billing data?
The data points outlined below are presented on billing report exports and can help you filter the billing data into different cost centres depending on your needs.
1. Use multiple CSP Subscriptions
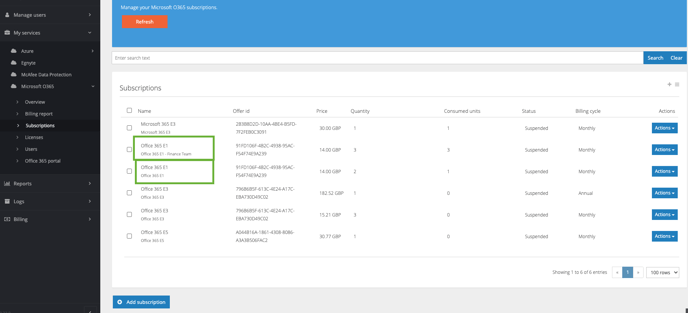
Creating a separate CSP subscription for each required cost centre allows you to include data against that subscription that can be pulled and sorted in the billing data export. Each subscription could include data unique to each cost centre in the following fields:
- Friendly Name field
- Purchase Order Number field
In the screenshot below, you’ll see two subscriptions for the same product. However, one contains the cost centre indicator “Finance Team” in the friendly name. This signifying data will appear on the billing data report.

2. Use the "Friendly Name" field
When creating a O365 Legacy subscription, you can include unique identifying information in the Friendly Name field. For NCE Subscriptions, you should create the subscription first, then on the subscription screen go to Actions>Edit to enter the Friendly Name
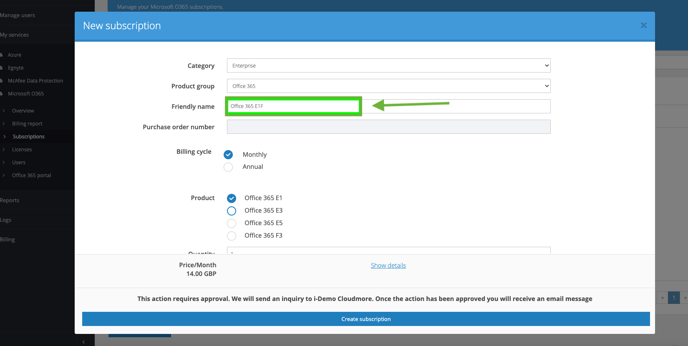
Your billing export report will include the friendly name field.
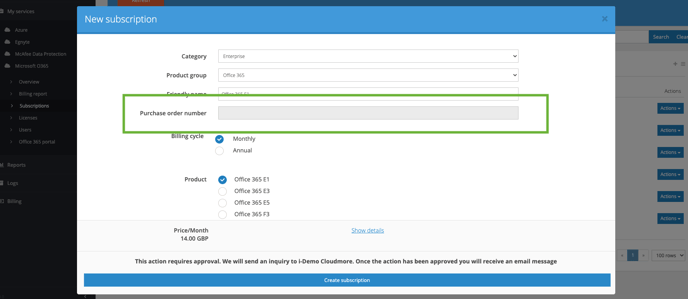
3. Use the Purchase Order number field
You can also use the purchase order number field in any subscription to add additional identifying data. Data you include here could be used as an account reference number, for example:
4. Use Custom Organisation Fields
Cloudmore lets you create custom fields against a user or an organisation. You may add one or more custom fields to give additional structured data to be stored together with users or organisations. Custom properties can be hidden data used to provide extra information or can be used to collect data at the point of purchase to be stored with the subscription.
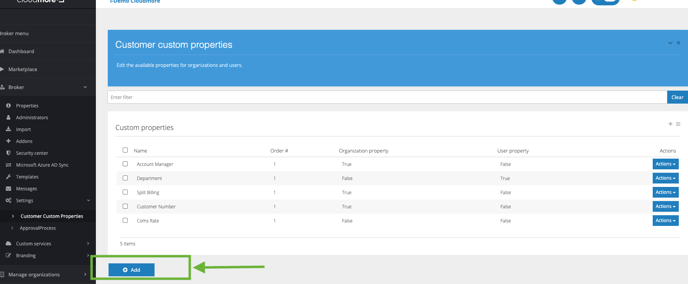
To create a Custom Organisation Field, go to Broker>Settings>Customer Custom Properties.
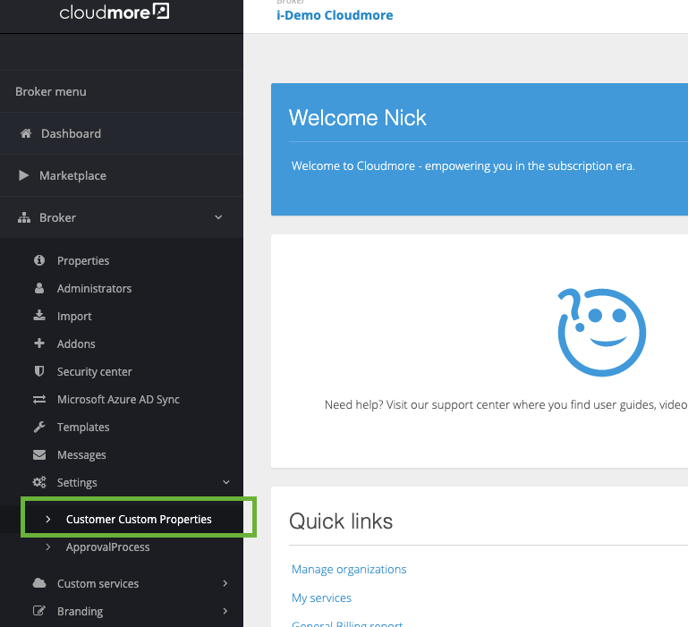
Then click Add
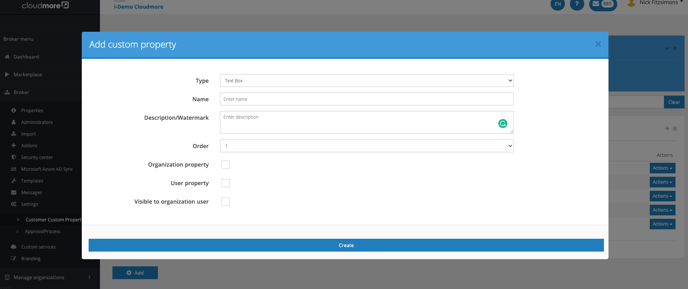
Type: Choose if this field is free text or a dropdown
Name: Enter the name you want to give this custom field, e.g. Department.
Description/Watermark: Describe the custom field
Order: Custom Fields will appear in Cloudmore at the bottom of each User or Organisation record. You can designate in what order the custom field will appear at the bottom of the Organisation or User record. For example, if you have "Department" and "Account Manager" custom fields, if "Department" is designated "1" in the Order field here, it will appear above "Account Manager" in the organisation or user record.
Organisation Property: Tick this box to create a Custom Field in all organisation records
User Property: Tick this box to create the Custom Field in all user records
Visible to organisation user: Tick this box to make the property visible at the organisation level
When exporting your billing data, you can then include these custom fields in your billing data export by selecting the box shown when downloading your billing data:
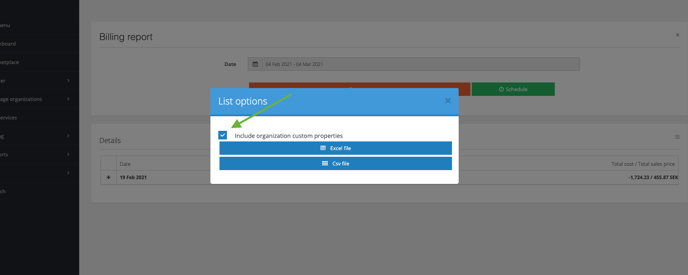
Custom Fields and the other data points listed above will then show in your billing data report allowing you to filter and split your data across cost centres as required.
