
This guide will walk you through the following aspects of the Approval Process:
- Approval Process Overview
- Configure Approval Process for individual organization (for Brokers)
- Configure Approval Process for all organizations (for Brokers)
- Submit changes for broker's approval (for Organization users)
- Accept or Deny Approval requests (for Brokers)
Approval Process Overview
Brokers who have granted access to their organizations to provision and edit services via the self-service portal can control the expenditure by using the Cloudmore Approvals process.
The broker can enforce that all changes made to a subscription would require approval from the broker before they are provisioned, or, a financial limit can be set so that only those transactions breaching this limit on an annual basis will require authorization.
For example, you can trigger an approval process on any of these user actions:
-
Subscription is created
-
Subscription license quantity is increased or decreased
-
Subscription total amount exceeds a certain threshold
-
Subscription renewal settings or product upgrade settings are changed
-
Subscription is suspended or re-activated
Brokers can also trigger approvals for specific actions and not all subscription or product related changes.
The approvals process can be configured both on a global level (for all organizations) as well as on a per organization basis.
Configure Approval Process for individual organization (for Brokers)
To configure the approval process for a specific organization:
- Navigate through Manage Organizations > Organizations.
- Select the applicable organization from the list. This directs you to the Organization layer view.
- On the left navigation pane, click Organization > Properties.
- Scroll down to the last item in the list and locate the Approval process field.
- Select the Active checkbox next to Approval process. This means that the below subscription changes made by the organization user would need the approval of the broker: Create/activate subscriptions, upgrade, suspend, and changing subscription renewal setting.
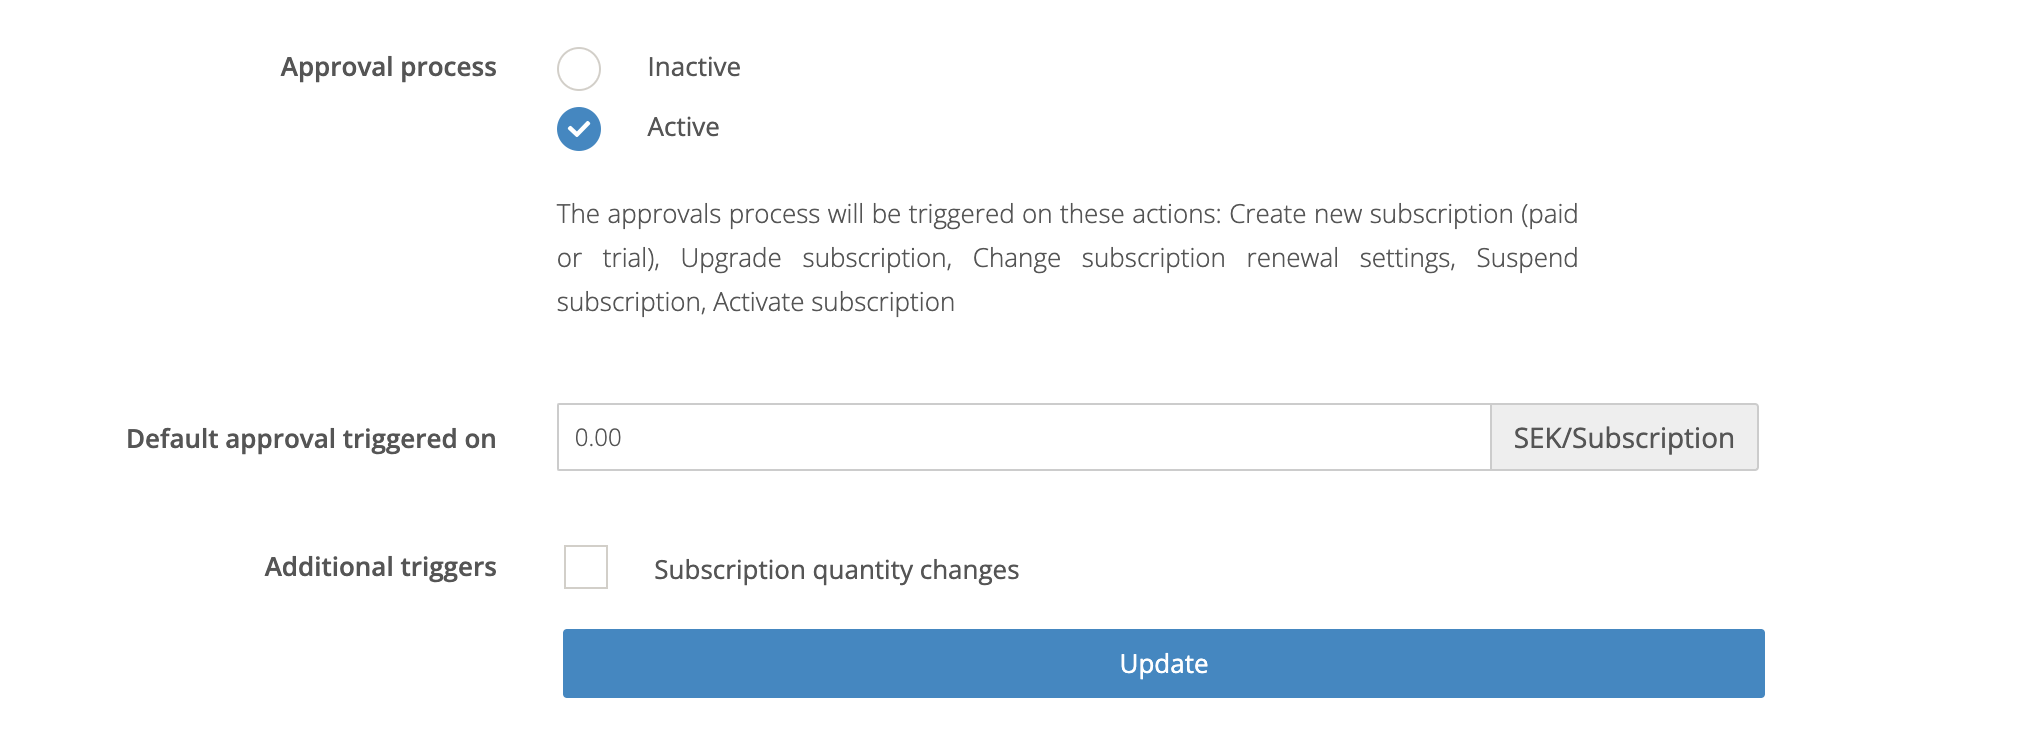
- Under Approval triggered on, set a financial limit for the subscription price. If the figure is set to 0.00 all transactions will require approval. For other limits, any transaction that exceeds the entry on a yearly cost will require approval.
- Click the Additional triggers checkbox if you also want the approval to be triggered if the organization user changes subscription quantity.
- Click Update.
Configure Approval Process for all organizations (for Brokers)
To configure the approval process for all organizations:
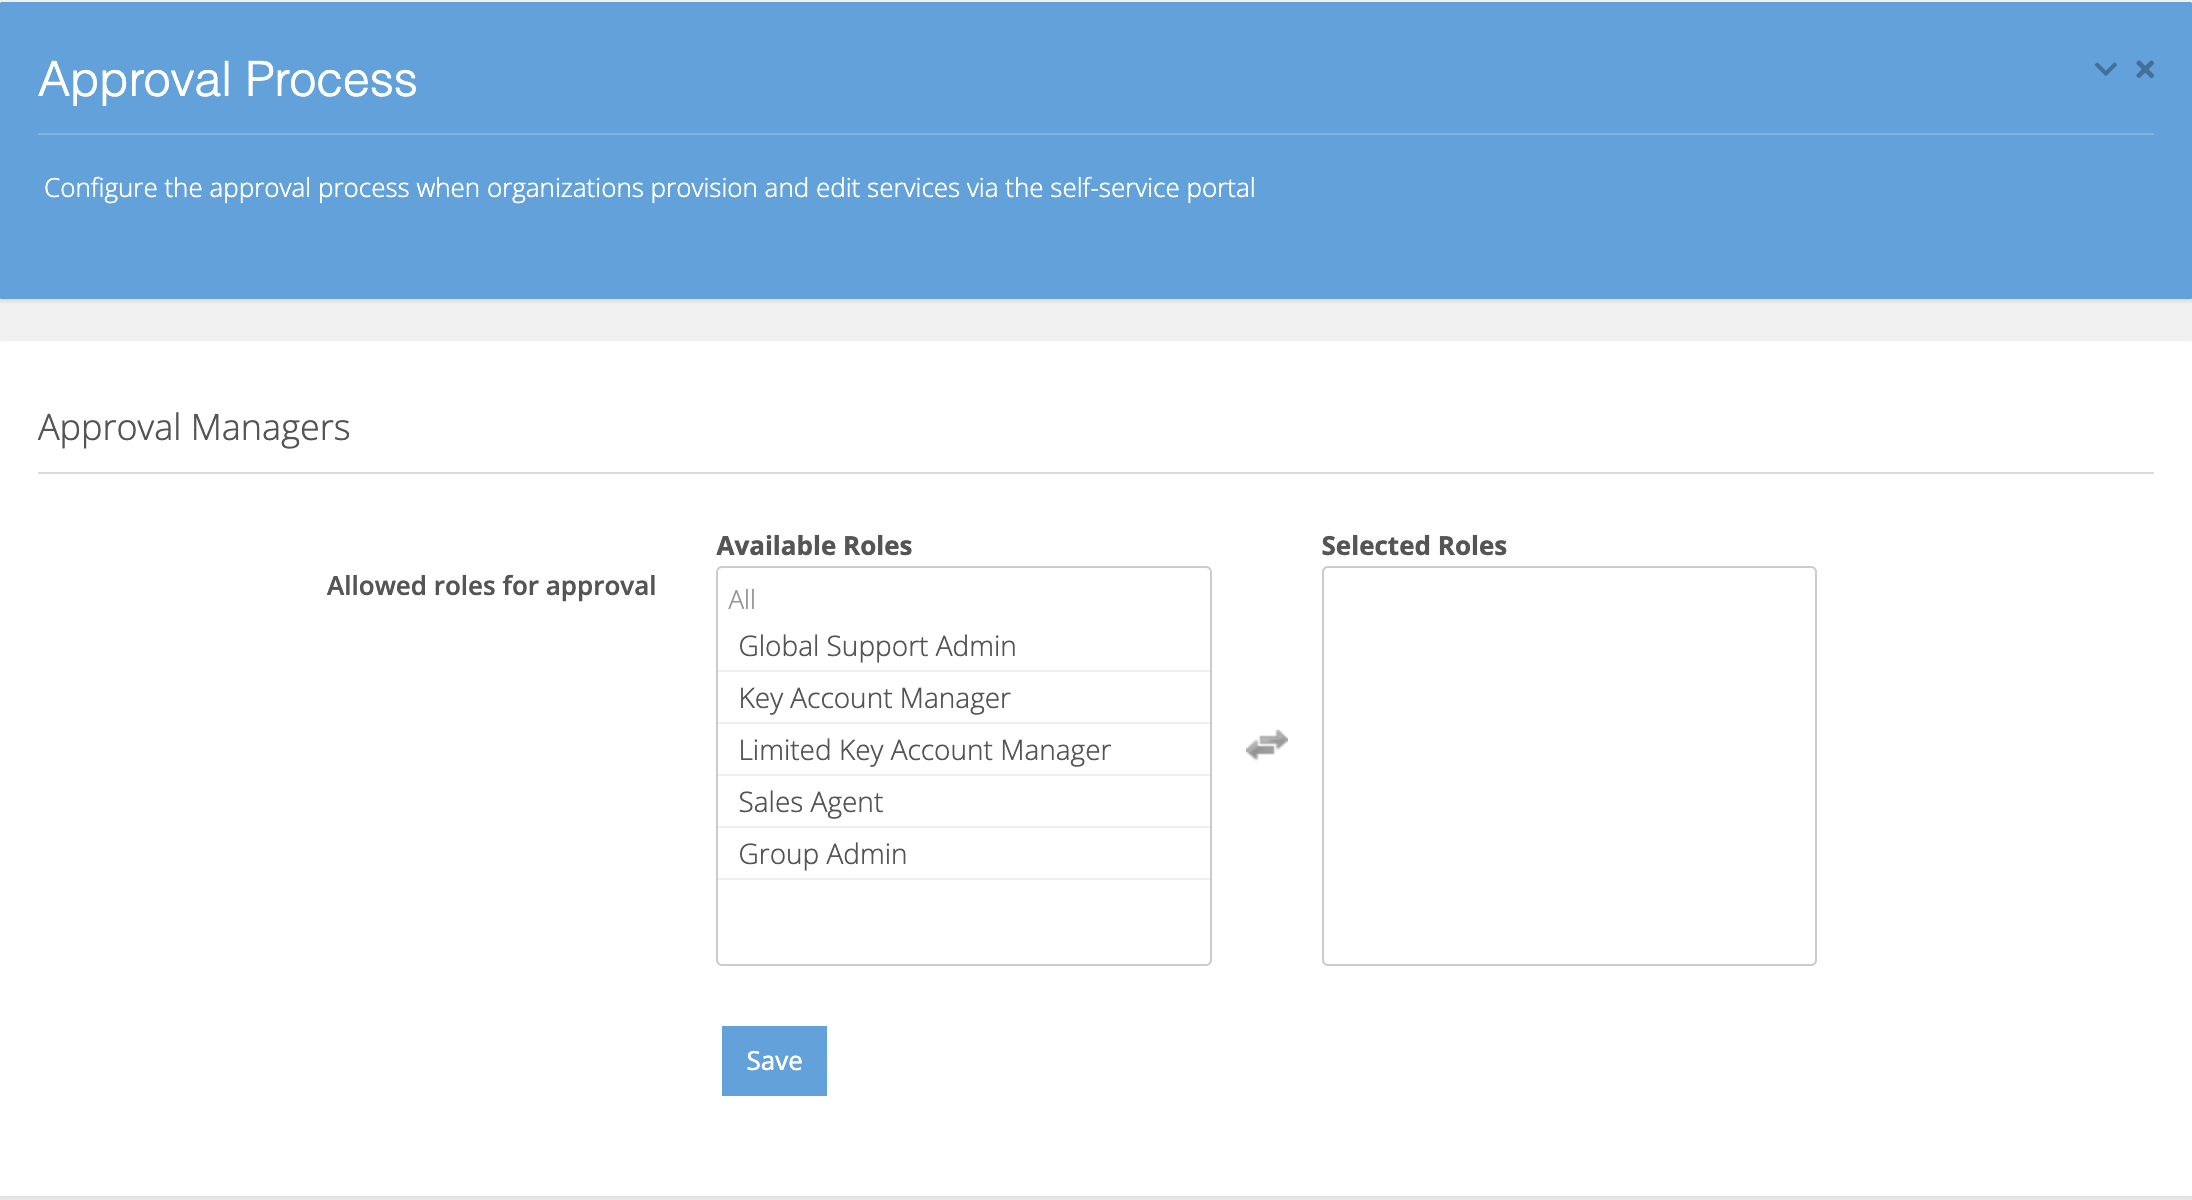
- Navigate through Broker Menu > Approval Process.
- Select the roles that will have access to approve/deny approval requests made by the organization. Click Save.
- Select the Active checkbox to activate Approval process. This means that requests to add, edit or suspend subscriptions by an organization user will require the approval of the reseller.
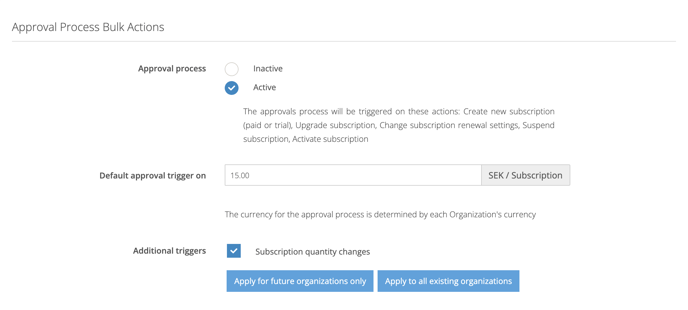
- Set a financial limit for Default approval triggered on. If the figure is set to 0.00, all transactions will require approval. For other limits over 0.00, any transaction that exceeds this entry will require approval.
- Click the Additional triggers checkbox if you also want the approval to be triggered if the organization user changes subscription quantity.
- Click Apply for future organizations only if you don't want to change the existing approval settings that you have configured for the current organizations. To update the approval settings for all existing organizations, click Apply to all existing organizations. This will overwrite any individual settings against organizations.
Submit changes for broker's approval (for Organization users)
If a user wishes to add, edit or suspend a subscription, they will follow the process as described in the Cloudmore self-service guide below:
https://support.cloudmore.com/knowledge/csp-o365-customer-self-service
When creating or editing a subscription, organisational users will see the following information message in the Subscription screen.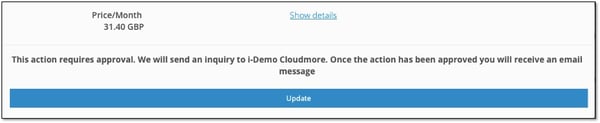
- When updated the user will see the AR (Approval Request) icon to the left-hand side of the subscription line.
- The AR (Approval Request) icon will disappear once the reseller has approved or denied the request.

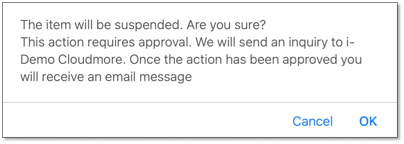
- When a user suspends a subscription, they will see the following message on the screen:
- When updated the user will see the AR (Approval Request) icon to the left-hand side of the subscription line.
- The AR (Approval Request) icon will disappear once the reseller has approved or denied the request.
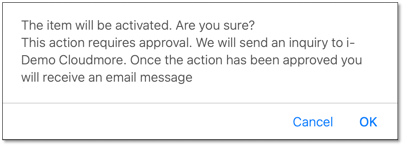
Reactivating a suspended subscription
- When a user reactivates a suspended subscription, they will see the following message on the screen:
- When updated the user will see the AR (Approval Request) icon to the left-hand side of the subscription line.
- The AR (Approval Request) icon will disappear once the reseller has approved or denied the request.
- An email will be sent to the user who made the request. The request can also be found under the notifications envelope at the top of the screen.

Accept or Deny Approval requests (for Brokers)
Approval requests are emailed to the reseller (see example below) and can also be found by clicking the notification envelope at the top of the broker screen.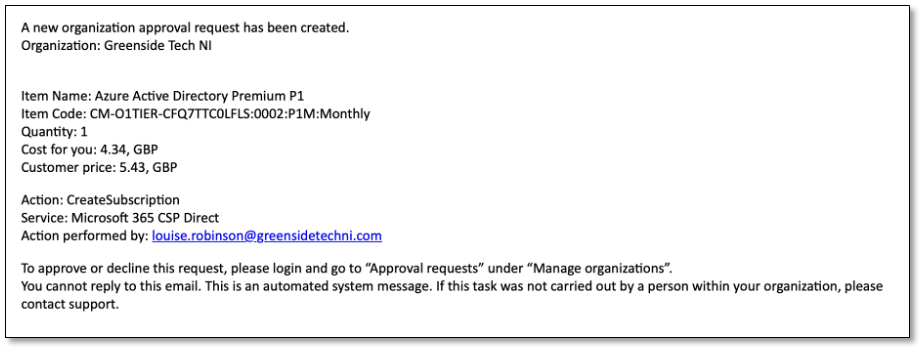
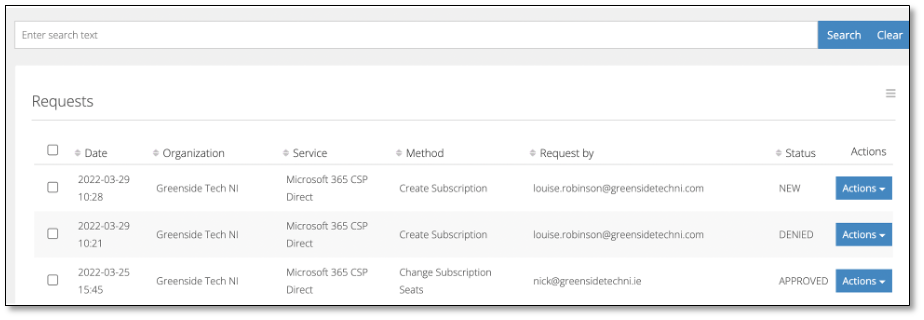
- Go to Manage organizations > Approval Requests
- A search bar is available to filter results for an individual organization.
- The reseller is presented with the Request screen showing the Date, Organization, Service, Method of the request e.g. Change subscription seats, the Organization User making the request and the Status of the request.
- New – A request requiring approval or denial
- Approved – A request that has been approved
- Denied – A request that was not approved
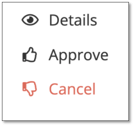
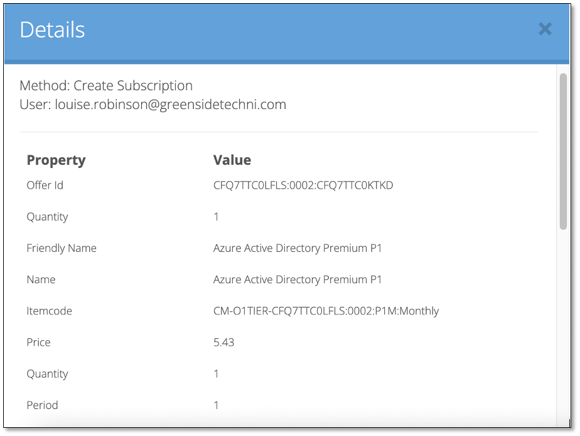
- The Details action presents a summary of the request
- If approved, the request is processed at this point and changes are made at the Organizational level to reflect the approval.
- The Organization will receive an email notification informing them of the decision.
- The Requests screen will show the updated status of the request.
