
You can apply your company's branding for a better experience for your internal staff and self-service enabled organizations.
Cloudmore enables you to display your logo on the left sidebar of most pages. You can also change the color scheme to match your corporate branding and add a marketing banner that is displayed when your customers log into Cloudmore.
 You can also fully white-label Cloudmore with your own customer login page using a custom URL.
Examples:
Follow the instructions below to learn how to add your logo, color scheme, and marketing banners.
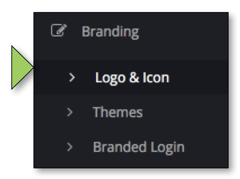
1. Go to branding
Log into Cloudmore. Go to Broker menu > Broker > Branding.
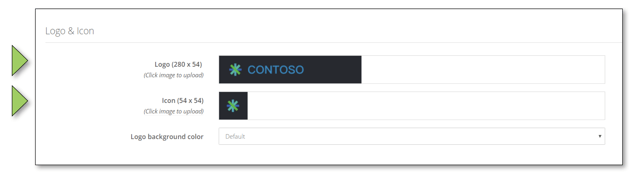
2. Add your logos/icons
Select 'Logo & Icon'.
Click on the logo/icon and upload your files. Then change your logo background color. Before uploading ensuring that the images sizes are exactly 280 x 54 and 54 x 54 pixels. If they are not the exact size, they will appear distorted. We recommend that your logos have a transparent background and a margin.
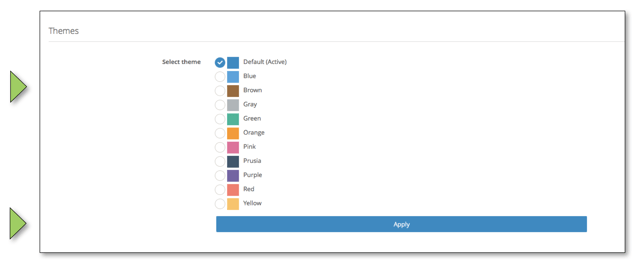
3. Change the color theme
Select Themes.
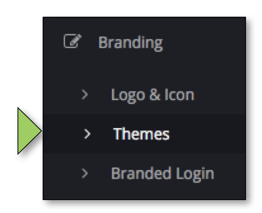
Select 'Themes' and click 'Apply'.
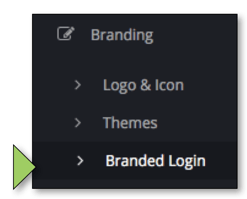
4. Full white-label: Custom login page and URL
Select 'Branded Login'
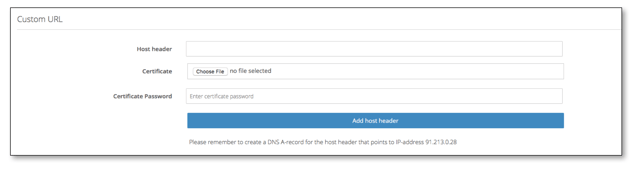
As Cloudmore is protected with SSL, a valid certificate must be used to protect the custom URL. The certificate used must be signed by an online Certificate Authority (CA), not a self-signed certificate. The certificate must cover the custom URL and can be a standard, multi-site or wildcard certificate.
To set up the branded login page, enter the following details:
- Host header: The custom URL to be used, for instance, https://cloud.resellerdomain.com
- Certificate: A valid SSL certificate signed by an online CA in the PFX format.
- Certificate Password: The password to access the PFX file.
- Name = The branded URL, for instance, cloud.brokername.com
- Alias to: eu-login.cloudmore.com
NOTE: After adding the above information, it will take up to 24 hours for your URL to be available.
4.1 Customize your Login Page
Once you have completed the setup of your custom URL, you can customize the login page with your own background image and links.
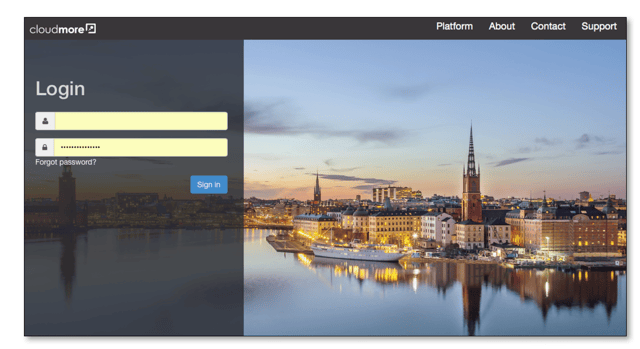
After completing step six, you will be able to add your own background image by clicking on the icon and uploading your file. We recommend that you use a high-resolution jpeg image (3060 X 2060 pixels).
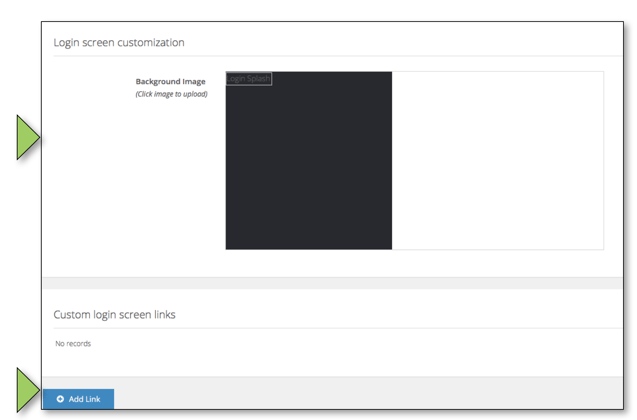
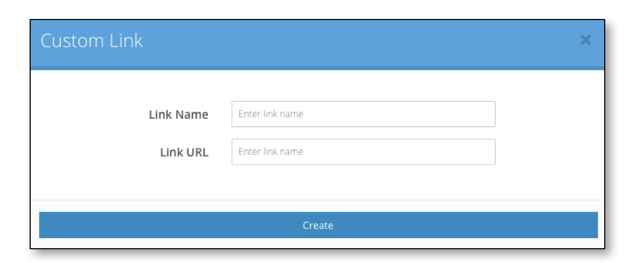
Add links by clicking 'Add link'.
Enter the link name and the URL. These will show in the top right-hand corner of the login page.
5. Create your Branded email address
All emails sent from the platform are, by default, sent from noreply@cloudmore.com. To change this, specify a 'from' email address.
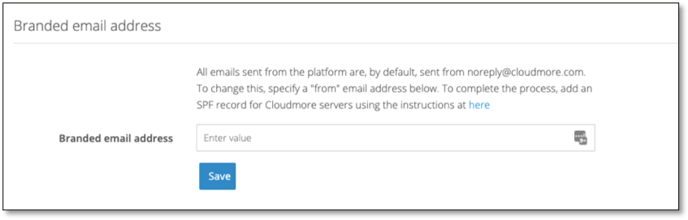
To complete the process, add an SPF record for Cloudmore servers using the instructions below:
Log into the administrative console for your domain.
Locate the page where you update the DNS records.
(You may need to enable advanced settings.)
Should your domain already contain a TXT record for SPF, simply add 'include:_spf.cloudmore.com' to the list.
E.g. "v=spf1 include:example.com include:_spf.cloudmore.com ~all"
If not, create a TXT record containing the text: "v=spf1 include:_spf.cloudmore.com ~all”
Save your changes.
Keep in mind that changes to DNS records may take up to 48 hours to update.
After completing step six, you will be able to add your own background image by clicking on the icon and uploading your file. We recommend that you use a high-resolution jpeg image (3060 X 2060 pixels).
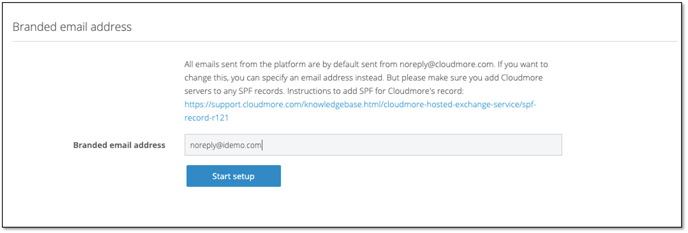
Cloudmore now supports the use of DomainKeys Identified Mail (DKIM) when sending out branded emails from the platform. DKIM allows the receiver to check that an email claimed to have come from a specific domain was authorized by the owner of that domain. This will strengthen the process that branded emails sent from Cloudmore will not end up in spam filters.
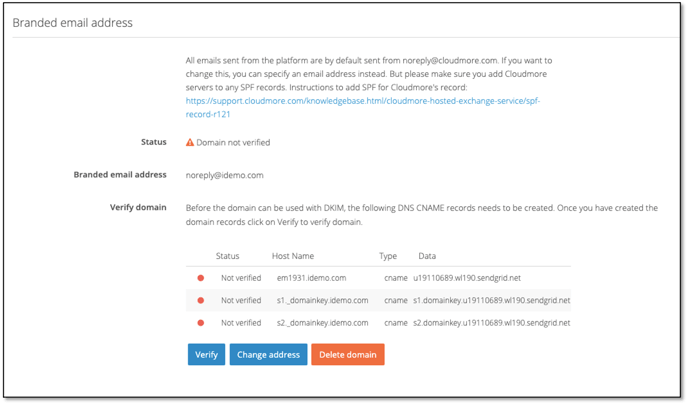
To use DKIM go to the Branded email section and enter the branded email address and press Start Setup
Once complete the domain will have been created with Sendgrid but is not verified.
-
Status will show as “Domain not verified”.
-
Email address is now locked and the domain name cannot be change
-
CNAME records will show the user which records the customer needs to create
The user now has a number of options
-
Verify button to ask SendGrid to verify the domain.
-
Change address will open change email popup modal.
-
Delete domain will delete the domain with SendGrid and revert to the default view.
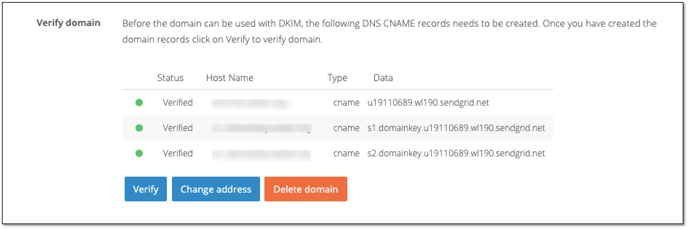
Press Verify
If successful status will change to verified against all records
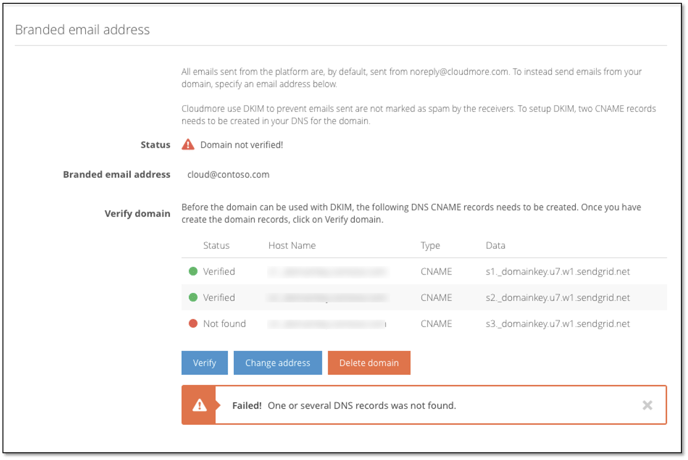
 If unsuccessful the status column will show what was verified and what was rejected. An error message will show what needs to be amended
6. Add a Single Sign On link to the login page
If the broker is using Single Sign-On to access Cloudmore a link can be added to the login screen by ticking the check box
7. Customize Your Organization Start Page
Resellers can now edit the organization's start page with its own content. Please follow the link to read our guide
END.