The Service is the “wrapper” that contains the service properties. Within the service, you can add the products and add-ons.
The diagram below shows the Custom Service Architecture hierarchy in Cloudmore. The Service is at the top and contains the products and add-ons.

You must add a service to be able to add products, manage pricing or add marketing information.
Follow the instructions below to learn how to create and edit custom services.
1. Go to Services
Log in to Cloudmore. Navigate to your Broker menu > Broker > Custom services.
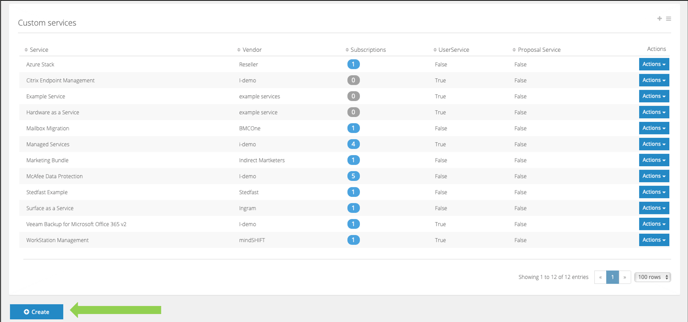
2. Create a new service
Click Create to add a new service.
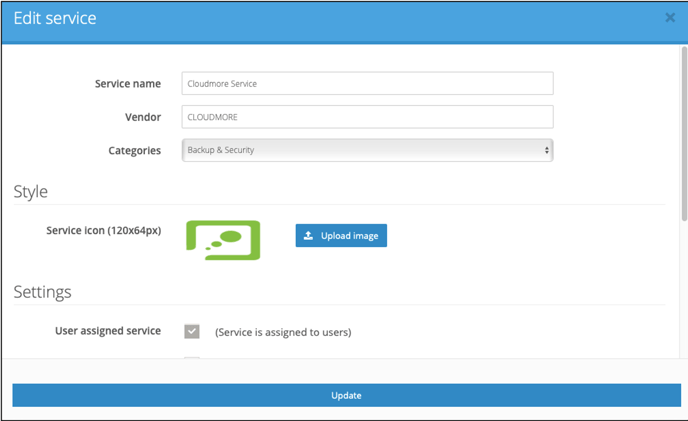
3. Enter the properties for the new service
|
Service Name |
Enter the name of the Service |
|
Vendor |
Enter the name of the Vendor |
|
Categories |
Select from the drop-down list of pre-set categories |
|
Style |
Upload an icon to display the service. Note: the image should be 120x64 pixels in size. |
|
Billing |
Select the day of each month to generate the billing for the service |
|
User assigned service |
Tick this box to enable the service to be connected to user accounts. If this box is not ticked, then it will be associated with an organization only. |
|
Only allow one subscription per organisation. |
Tick this box to restrict each product to a single instance |
|
Display only services |
Visible in Marketplace, where organisations can view and get further information, but not possible to buy |
|
Provisioning Type |
Select e-mail or service connector |
|
Set Welcome Message |
The organisation adds service: Select to send the welcome message when an organisation adds the service. Select Template: Attach a welcome email template that you have created and saved in Cloudmore. Click here to learn how to create email templates. |
Click Create to add the custom service.
The Custom Service will now show in the list.
4. Edit an existing service
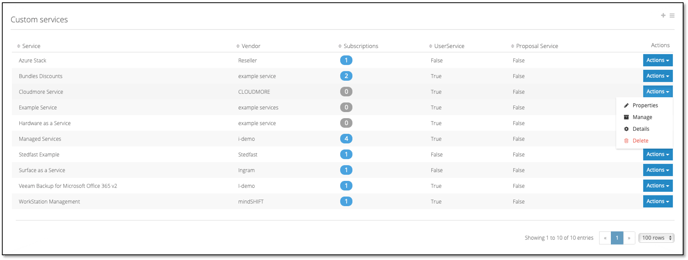
Click on the Actions icon to edit the Properties of a custom service.
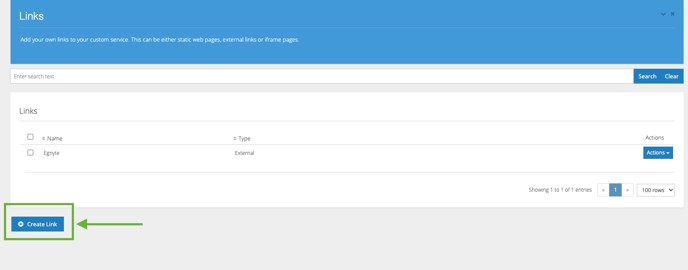
5. Service Links

Then click Create Link
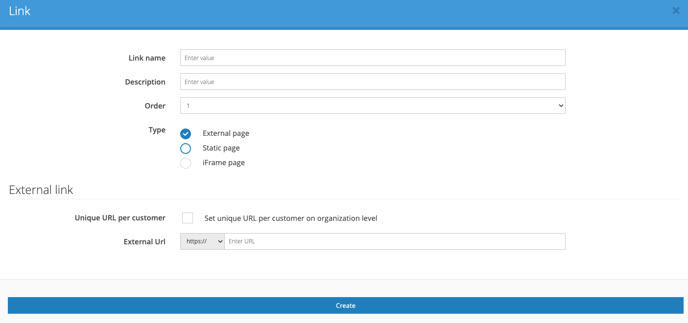
The external page link is used when the user needs to access a page on another website or services, such as a web page, support page, or external control panel.
The static link page is WYSIWYG or HTML that is shown within the Cloudmore platform. This is a handy option to provide one or multiple pages of rich information about the service or your services offer.
The Iframe link is normally used when you want to embed dynamic HTML into another web page. Examples of this could be another mini-application or chart, or graphic.
Also, you can define external links for a service that are unique to an individual organisation. This gives the ability to provide unique single-sign-on links or direct the user to a specific customer page within an external system.
Create a new link and mark the “Unique URL per customer” check-box, then Create. Then select Actions>Set Unique Links beside the newly created link and add the links per organisation.
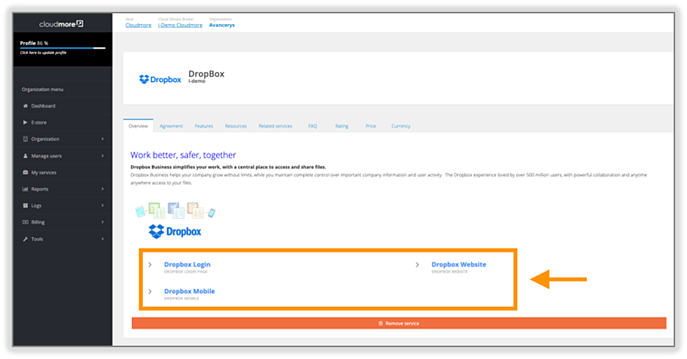
The unique links will now appear on the “Overview” page of the related Custom Service for each organisation.