
CSP tenants and subscriptions can be created and updated in Cloudmore without the need to access the Microsoft Partner Centre.
Tenants, subscriptions, and users are created and managed in real-time and any additions and changes are available instantly. You will be able to see the sales price (managed via the price list) and your calculated margin % at the point of purchase.
New customers and changes to existing customers will automatically be added to the billing report at the end of the billing cycle and will be invoiced with the correct quantity and amount.
Your customers can also self-serve via Cloudmore, enabling them to add new services and manage existing services 24/7. If activated the approval process, interrupts, and requires you to approve the transaction.
The API connection with the Microsoft Partner Center is bi-directional. If subscriptions and users are created in the Partner Centre they will automatically show in Cloudmore. This enables Cloudmore to fit with different business processes, including; migrations using 3rd party tools and transfers of subscriptions from other programs such as syndication or indirect CSP.
Follow the instructions below to learn how to process your Office 365 business in Cloudmore
1. Add new O365 tenants
2. Set a mandatory billing cycle
3. Add a new subscription
4. Set a future provisioning date
5. Manage existing subscriptions
6. Manage users
7. Subscribe/unsubscribe users to/from subscriptions
8. Customer Billing Report
1. Add new 0365 tenants
**The steps explained below can be carried out at both Broker level or by your customers**
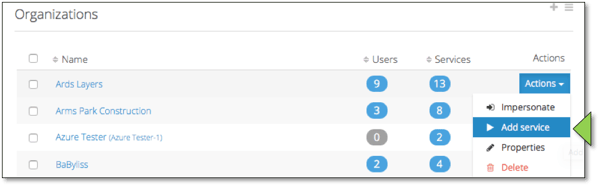
From Broker Menu > Manage Organizations > Organization, find or add (add organization) the customer you want to add the new 0365 tenant for.
Go to their e-store, by clicking on Actions > Add Service
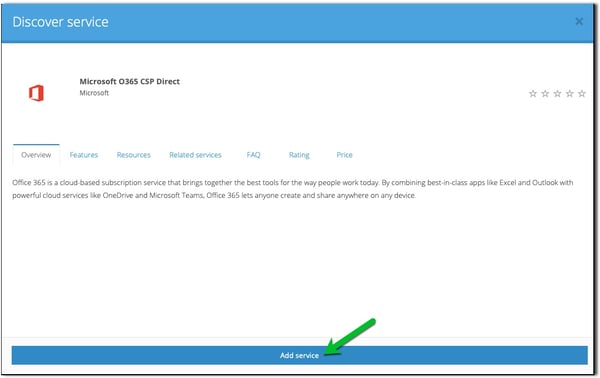
Find the Microsoft 0365 CSP Direct service and click on it to open the service screen
Click add service.
The form will pre-populate with details from the organizational record.
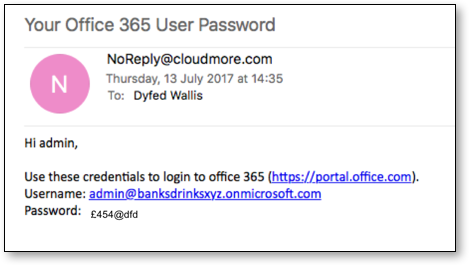
The contact details will be used to create an admin user, and a confirmation email will be sent to this email address containing the 0365 login credentials.
Make sure company address details are added in the organizational record, these are required by Microsoft when creating new tenants. A message will show if missing.

Check and update the details and then click add service.
Cloudmore will then check the availability of the domain and confirm if it is available.

If the domain is not available, this is because it already has a Microsoft tenant registered against it. If this is provided by another supplier, you will need to request a CSP relationship via the partner center. Once the relationship is confirmed they will show as an existing tenant and follow the link tenant process.
Click add service again.

The Microsoft tenant will now be created and show immediately in the partner center.
No charges are incurred at this stage.
A confirmation email will be sent to the contact email address with the 0365 login credentials.
2. Set a mandatory billing cycle
If you wish to offer subscriptions only on a monthly or annual license this can be activated otherwise the Cloudmore default will remain of allowing both types
Go to Broker menu > My Services > Settings and navigate to the Billing Cycle section.
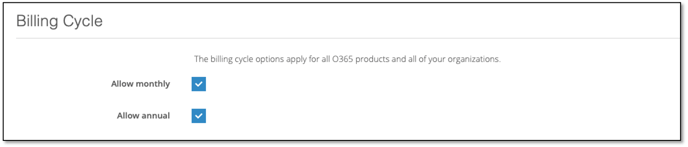
Uncheck the box of the billing cycle you wish to disable
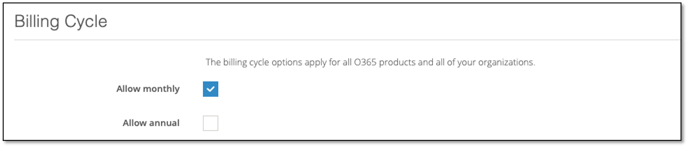
Press Update
3. Add a new subscription
**The steps explained below can be carried out at both reseller level or by your customers**
Log in to Cloudmore. Navigate to Manage Organisations > Organisations. Click on the Organisation for which you wish to add a subscription.
Go to My Services >Microsoft 0365 CSP Direct> Subscriptions from the left menu.
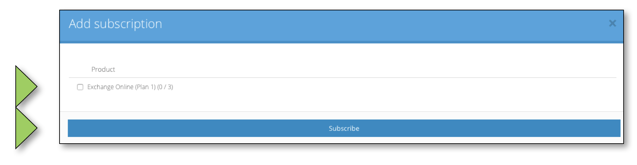
And then click Add subscription.
The Subscriptions selection screen will now display.
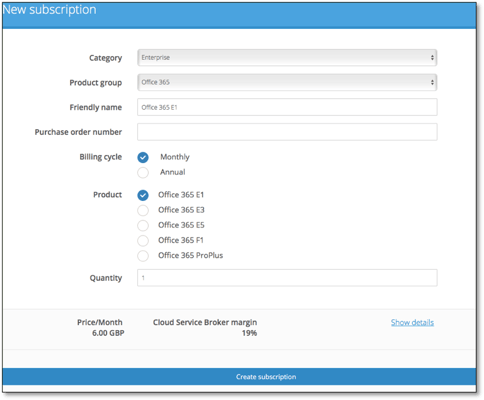
Select the required category.

Select Billing Cycle

and product group.

Cloudmore will dynamically display the available products based on the category and group selected.
Add Friendly name
This is optional, you can create an 0365 subscription-friendly name which will appear on all subscription views and on billing reports at both cloud broker and organization level.

Add PO Number
This is optional, the PO number appears on the O365 billing export and is typically used to help match subscription costs against PO numbers

Select the product you wish to add.

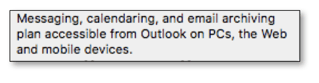
Hover your cursor over the product name to see additional information.
Select the quantity you wish to add from the drop-down menu.

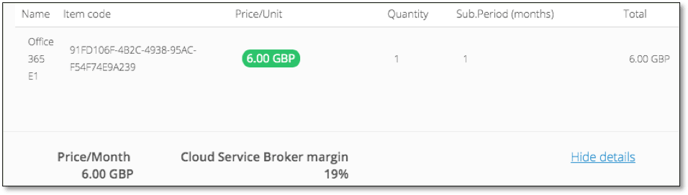
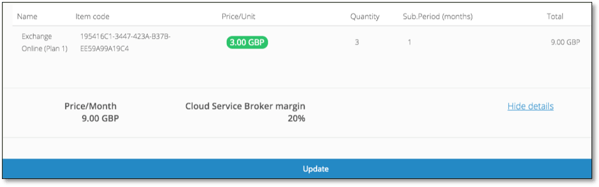
Cloudmore will calculate the price for the selected quantity and confirm the cloud service broker margin (this is hidden when your customers self-serve!).
The price used will be either from the global price list or the customer-specific price you have set, if applicable.

Click on show details to see additional information, including item code and subscription period.
Any changes to the customer pricing should be made in the price list before adding the subscription.
You can enter a start date for the provisioning to occur (see Section 4)
If the licenses are required straight away Click Create subscription.
Costs will now be incurred based on the Microsoft Billing rules.

The subscription will be created, show in the partner center, and will be available immediately.
The new subscription will show in the subscription view for onward management.
Watch the step by step video guide below:
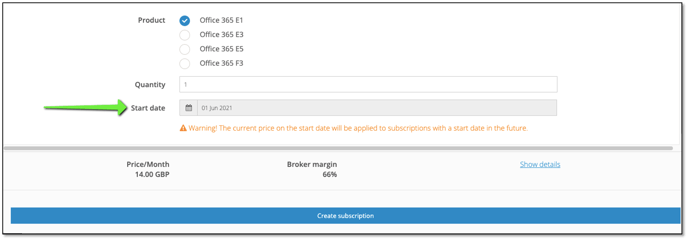
4. Set a future provisioning date
It is possible to set a future date for provisioning to occur. When completing the New Subscription form you can click on the calendar and set a date in the future. The pricing of the product will be effective from the day of the provisioning taking place and will reflect the price lists on that day
 A line will be created in the Subscription screen with no pricing and the date of the licensing going live. On the date chosen, Cloudmore APIs will action the provisioning request
 To cancel the request press Actions > Suspend and this will remove the subscription from the screen and cancel the request
This process only works for new subscriptions and not additional licenses being added to current subscriptions
5. Manage existing subscriptions
**The steps explained below can be carried out at Broker level or by your customers**
Go to My Services, 0365, subscriptions from the left menu
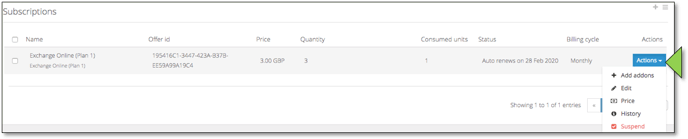
Here you can clearly see a list of existing subscriptions, the offer ID, the price you are charging, quantity purchase, quantity consumed, and the date renewal date that the Microsoft price lock ends.
Use the actions drop-down menu to the right of each subscription you want to manage.
Manage Add on’s
Click the ![]() to manage add on’s.
to manage add on’s.
Hover your cursor over the product name to see additional information.
Select the quantity required and click add.
The add-on will be available immediately.
Costs will now be incurred based on the Microsoft Billing rules.
Change Quantity
Click the ![]() icon to change the quantity.
icon to change the quantity.
Select the new quantity required from the drop-down list.
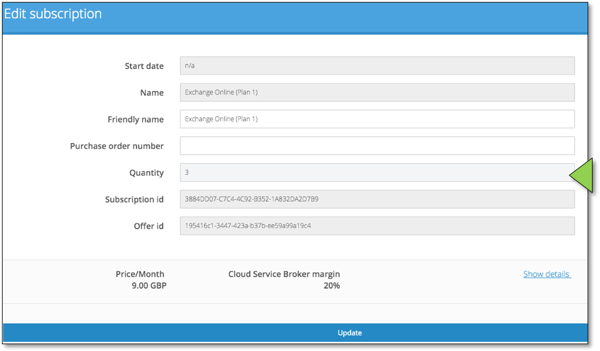
The new monthly cost will be automatically calculated.
Click update
The changes will be applied / available immediately.
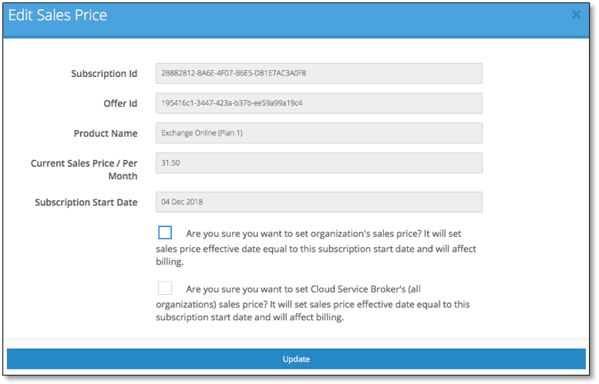
Manage Historic Sales Price
Click the ![]() icon to edit the subscription sales price
icon to edit the subscription sales price
View Subscription History
Click the ![]() icon to view subscription history
icon to view subscription history

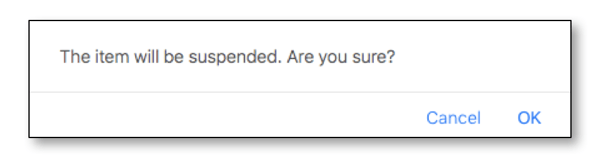
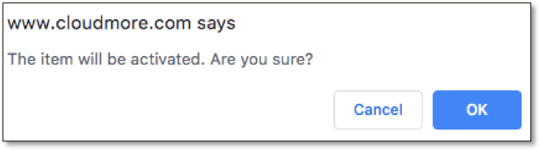
Click the ![]() icon to suspend the subscription. A confirmation pop-up will display.
icon to suspend the subscription. A confirmation pop-up will display.
Click OK and the service will be immediately suspended.
The status will change to suspended. To remove the subscription suspension, click on the Actions menu and click on Activate.
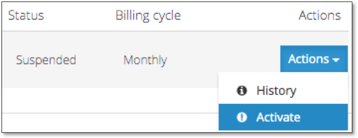
Click OK and the service will be immediately suspended.
Watch the step by step video guide below
6. Manage users
**The steps explained below can be carried out at both reseller level or by your customers**
Users are bi-directionally synced in real-time with the Microsoft partner center. This means Cloudmore supports different business processes regardless of users needing to be created in the Partner Centre directly or via 3rd party tools.
Go to My Services, 0365, users from the left menu
A list of existing 0365 users will be displayed.
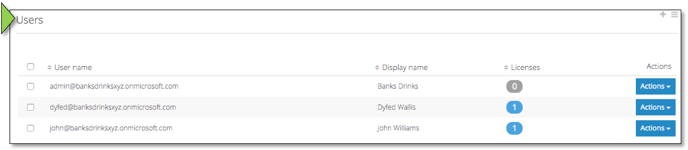
An admin user is created during the add new tenant process.
Add a New User
Click + new user
Complete the form
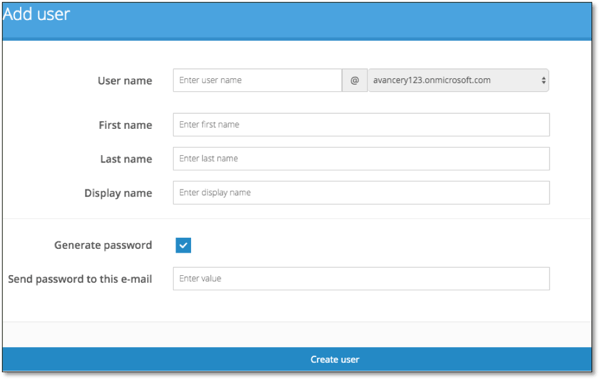
Password Settings
If you select Generate password, the office 365 login credentials will be emailed to the address entered below.
If you untick Generate password you will be prompted to input a password of your choice. You will need to share the login credentials with the user.
Note: Minimum password length is eight (8) characters. Password must contain uppercase and lowercase characters, numbers and non-word characters. Password cannot contain parts of the user's user name or parts of the user's full name.
Click create user
The user will be available immediately and will appear in the list of users for onward processing.
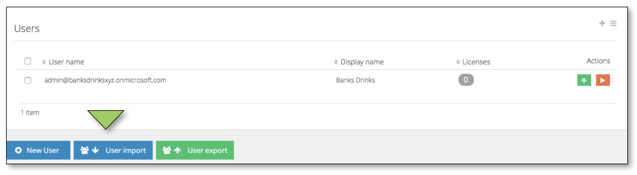
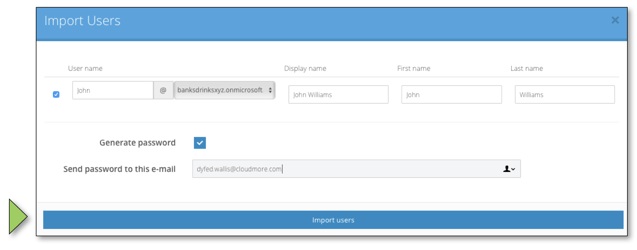
User import.
Users can be imported from the Cloudmore user directory.
Click user import
Enter the email address that the password should be sent to.
Click import users
A password will be immediately emailed to email address entered with the login credentials.
The users will be available immediately and will appear in the list of users for onward processing.
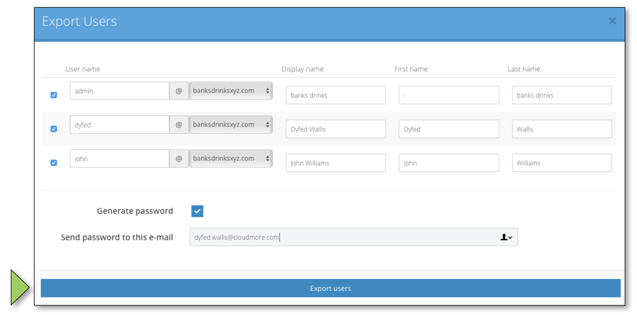
User Export.
Users can be exported to the Cloudmore directory.
Click user export
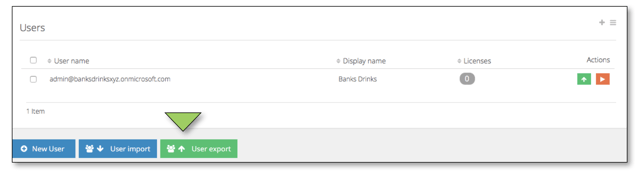
Enter the email address that the password should be sent to.
Click user export
A (Cloudmore) password will be immediately emailed to the email address entered with the login credentials.
7. Subscribe/Unsubscribe users to/from subscriptions
**The steps explained below can be carried out at both reseller level or by your customers**
Go to My Services, 0365, users from the left menu
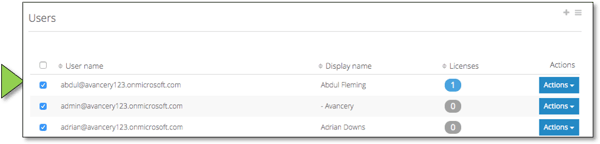
Subscribe user(s) to a subscription.
Tick the users you wish to assign subscriptions to then click the ![]() in the top right corner. Then select assign subscriptions.
in the top right corner. Then select assign subscriptions.
To subscribe to an individual user, click on the Actions and then click Subscriptions

Select the subscription you wish to assign. If multiple subscriptions are available they will display in the list.
Note: The quantity available and quantity consumed will be displayed for each subscription.
Click subscribe
The user view will be updated to show the number of subscriptions subscribed to each user.
Click on the number to see details of subscriptions.
The subscription will be available to use the user immediately.

The consumed units will be updated to show the changes you have made.
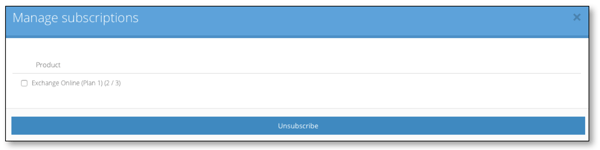
Unsubscribe a user from a subscription.
From the user view, click on the number next to the user you want to unsubscribe.
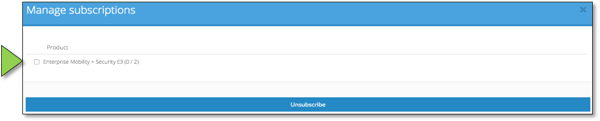
Select the subscriptions you wish to remove.
Click unsubscribe.
The subscription will be removed from the user immediately.
The consumed units will be updated to show the changes you have made.
Watch the step by sept video guide below
8. Customer billing report
**The steps explained below can be carried out at both cloud broker level or by your customers**
Go to My Services, 0365, billing report from the left menu

Select date range
Click on the date field and select the desired range.
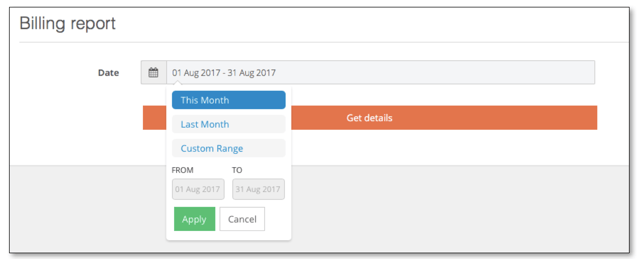
Last month will set the date range first day to the last day of the previous month.
The custom range allows you to select multiple months and will display a billing report for each month.
Note: - Each month will contain one billing report that corresponds with the Cloud Broker's Microsoft billing cycle. For example, if the Cloud Broker's billing cycle ends on the 15th – Cloudmore will display a billing report dated the 16th. This covers the MS billing cycle from the 14th of the previous month to the 15th of the selected month.
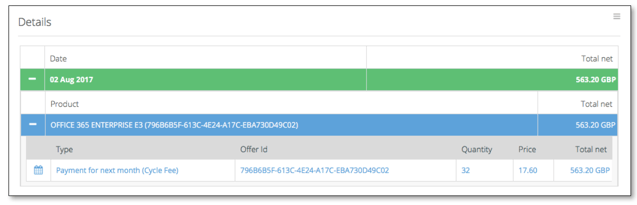
View detail
The billing report will be grouped by: -
- Date - One billing report per billing cycle within the selected date range will be displayed. This will show the total invoice amount. Click on date to expand.
- Subscription - The report is automatically grouped per subscription and shows the invoice amount. Click on subscription to expand.
- Detail – This will show a line item for each type of transaction e.g. – cycle fee, refund or pro-rata billing. Each line item will have a quantity and price. The correct price is automatically applied from either the Cloudmore global or customer-specific price list.
Export
Export the report to see more details by clicking on the  icon, above the report to the right.
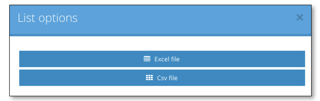
The file will download automatically.

END